How to Strain Sauces Like a Pro: Techniques for Silky, Smooth Results
Discover the best tools and step-by-step techniques for straining sauces to achieve the perfect texture in your homemade creations every time.
Written by FoodieManiac
With over 8 years of sauce-making experience, I've tested hundreds of techniques and products to bring you practical, reliable advice. Learn more about me →
Why Straining Sauces Matters
Straining is a key step for achieving restaurant-quality sauces at home. It removes unwanted solids - herbs, skin, seeds, or curdled bits - yielding a sauce that’s smooth and glossy. Whether you’re making a classic Caesar dressing, a vibrant Indian Mint Chutney, or a rich Garlic Parmesan Sauce, proper straining elevates both texture and appearance. Unstrained sauces can look dull, feel gritty, and mask nuanced flavors with distracting particles.
Understanding Straining Tools
Different tools offer varying degrees of refinement. Choosing the right one depends on your sauce’s desired texture.
- Colander: Best for coarse straining (e.g., removing large solids from chunky tomato sauces).
- Fine-mesh sieve: The workhorse for most home cooks. It removes small bits and is ideal for gravies, pan sauces, and vinaigrettes like our Balsamic Vinaigrette.
- Chinois (conical fine-mesh strainer): Provides ultra-smooth results for emulsions, custards, and purées. Essential for classic French sauces and restaurant-level presentation.
- Cheesecloth: Used for the silkiest results - think consommés, clarified butter, or sauces where zero solids are desired. Double-layer for best filtration.
- Nut milk bag or coffee filter: These trap even finer particles, perfect for clarified sauces (like beurre blanc) or infusions.
When to Strain Your Sauce
Strain sauces at the optimal moment to preserve flavor and texture.
- After simmering: For pan sauces, gravies, and reductions, strain immediately after cooking (while hot, between 70–90°C/160–195°F) so fats and particles haven’t solidified.
- Before emulsifying: For dressings with herbs or aromatics, strain before adding oil or creamy elements. This yields a clean base for smooth emulsions.
- Before serving cold sauces: Blended dips like Creamy Jalapeño Cilantro Dip or Aji Verde benefit from straining after blending and before chilling for the smoothest texture.
- After infusing or steeping: For sauces with infused flavors (e.g., garlic oil, chili oil), strain when infusion is complete - usually after 10–30 minutes at 65–80°C/150–175°F, before cooling.
Step-by-Step: Straining Sauce for Silky Results
1. Gather Tools and Prep the Sauce
Have your chosen strainer, a clean bowl or saucepan, a ladle, and (if needed) cheesecloth ready. If your sauce has cooled, reheat to at least 70°C/160°F - warm sauces flow smoothly and strain faster. For thick sauces, add a tablespoon or two of hot water or stock to loosen before straining.
2. Straining Technique
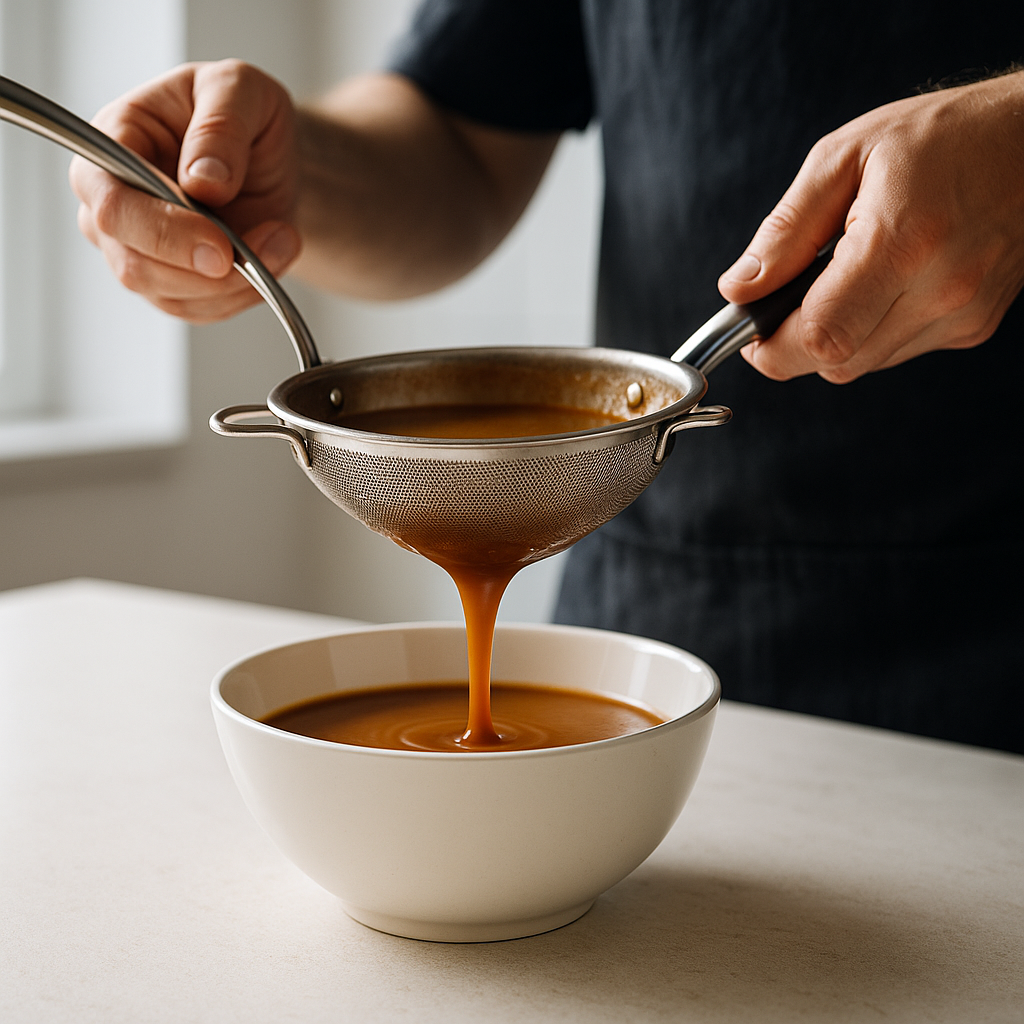
- Fine-Mesh Sieve: Set the sieve over a bowl. Ladle the sauce into the sieve in batches. Use a silicone spatula or the back of a spoon to stir and press the sauce through, maximizing yield. Avoid overfilling to prevent overflow.
- Chinois or Cheesecloth: For extra-smooth sauces, line the chinois with damp cheesecloth. Pour sauce in, and let gravity do most of the work. For thick sauces, gently tap or swirl the strainer - not forcefully, or fine particles may pass through.
- Nut Milk Bag/Coffee Filter: Pour sauce in small amounts. Let it drip naturally, as pressing can force solids through. This is slow - allow 10–15 minutes per cup of sauce.
3. Optional Double Straining
For the glossiest, most refined results (as in silky beurre blanc or hollandaise), strain twice: first through a fine-mesh sieve, then through cheesecloth or a nut milk bag. This is especially important for sauces served over delicate proteins or vegetables, as described in Best Sauces for Grilled Vegetables.
Troubleshooting Common Straining Issues
Sauce Too Thick to Pass Through
If your sauce is too viscous, gently reheat to 80–90°C/175–195°F and add a splash of hot water, broth, or cream. Stir thoroughly before straining. Avoid thinning too much, or flavor will dilute.
Sauce Clogs the Strainer
Stop and rinse out your sieve under hot water to remove buildup. Resume straining in smaller batches. For sauces with fibrous ingredients (like roasted red peppers in Romesco Sauce), always blend thoroughly before straining for best flow.
Cloudy or Gritty Texture After Straining
This can occur if solids are forced through the mesh or if the sauce was over-reduced and seized. Always use gentle pressure when straining and avoid overcooking the sauce. If cloudiness persists, try a double strain or use a finer filter.
Special Considerations for Different Sauce Styles
Herb and Green Sauces
Vibrant sauces like Italian Salsa Verde and Chimichurri often contain stems or coarse leaf bits. After pulsing in a blender, strain through a fine-mesh sieve if you want a smoother, restaurant-style finish. For rustic applications, you may skip straining, but for dipping or drizzling, straining enhances mouthfeel.
Emulsified Sauces
Classic emulsions - like mayonnaise, aioli, or creamy dressings - benefit from straining after emulsification. This removes any unblended bits, yielding a uniform texture perfect for dipping fries or topping burgers (see Best Sauces for Fries and Best Sauces for Burgers for pairing ideas). For example, after blending Ranch Dressing, pour through a fine sieve to catch herb stems or garlic pieces.
Fruit-Based and BBQ Sauces
When making sauces like Smoky Bourbon BBQ or Orange Sauce, straining eliminates citrus pith, zest, or fruit pulp that can make the sauce bitter or pulpy. For these sauces, strain while hot and use a spatula to press as much liquid through as possible.
Nuts, Seeds, and Roasted Vegetables
Sauces containing nuts or roasted vegetables (such as Romesco or Roasted Red Pepper Hummus) should be blended to a creamy consistency before straining. If you desire ultra-smooth results, strain through cheesecloth and plan for a longer draining time - up to 20 minutes per batch.
Yogurt and Dairy-Based Sauces
For creamy sauces like Tzatziki or Garlic Aioli, strain after mixing to remove cucumber seeds, garlic bits, or excess whey. Line your sieve with cheesecloth and let gravity drain the sauce for 10–15 minutes in the fridge.
Pro Tips for Perfect Straining
- Work in Batches: Never overload your strainer; smaller batches yield finer results and prevent clogging.
- Keep Sauce Warm: A sauce between 75–85°C (167–185°F) flows better. If it thickens, reheat gently before straining.
- Use Gravity, Not Force: Let the sauce drain naturally. Press gently with a spatula if needed, but don’t mash solids unless making a purée-based sauce.
- Reserve Some Solids for Texture: For hearty dishes, stir back a spoonful of strained solids for extra flavor, as in rustic salsas or gravies.
- Clean Tools Immediately: Rinse sieves or cheesecloths with hot water right after use to prevent stubborn buildup.
How Straining Improves Sauce Shelf Life
Removing solids not only refines texture but also extends shelf life by reducing spoilage risks. Particulate matter can harbor bacteria and cause separation or fermentation. For best storage practices, see How Long Do Sauces Last? Shelf Life Guide for Homemade & Store-Bought. For sauces you plan to freeze, always strain first - refer to Freezing Sauces 101 for optimal methods.
Advanced Techniques: Clarifying and Finishing
Clarifying Broths and Consommés
For crystal-clear sauces or broths, use a classic clarification technique. Whisk 1 egg white per liter (quart) of sauce with a splash of cold water, add to the cooled sauce, then heat gently to 85–90°C (185–195°F), stirring constantly. The egg whites trap impurities. Strain through double cheesecloth. This technique is essential for French consommés and clear gravies.
Mounting with Butter (“Monter au Beurre”)
After straining, return your sauce to the pan and whisk in cold unsalted butter (1 tablespoon per cup of sauce) over low heat. This enriches texture and creates a glossy finish. Never boil after adding butter; keep temperature below 80°C (175°F) to prevent breaking.
Applying Straining Techniques to Popular Sauces
- Indian Mint Chutney: Strain after blending for a vibrant, pourable consistency ideal for drizzling or dipping.
- Roasted Garlic Parmesan Dressing: Strain after blending to remove garlic skins or fibrous cheese bits for a creamy salad dressing.
- Creamy Jalapeño Cilantro Dip: Strain after blending for a smooth, scoopable dip free from herb stems or pepper skins.
- Smoky Bourbon BBQ Sauce: Strain after simmering to eliminate tomato skins and spice bits for a glossy, brushable glaze.
For even more inspiration, see our guide on How to Make Toum: Lebanon’s Creamy Garlic Sauce Explained and our essential breakdown, Aioli vs. Garlic Mayo: What’s the Real Difference in These Creamy Sauces?.
Summary: Your Straining Checklist
- Pick the right strainer for the job: fine-mesh sieve for most, cheesecloth for ultra-smooth.
- Strain sauces while warm (70–90°C/160–195°F) for optimal flow and clarity.
- Always work in small batches and avoid forcing solids through.
- Double strain for restaurant-level silkiness.
- Strain before chilling, freezing, or adding emulsifiers or finishing fats.
- Clean tools immediately after use for long-lasting performance.
Mastering straining techniques is the key to creating sauces that rival any restaurant. Whether you’re perfecting a classic beurre blanc, a zesty Salsa Verde, or a bold BBQ sauce, a little extra care in straining will deliver silky, professional results every time. For more on maximizing flavor, visit our guide How to Reduce Sauces for Maximum Flavor.
