How to Reduce Sauces for Maximum Flavor: Techniques and Timing
Master reduction for deeply flavorful sauces. Learn techniques, timing, and tips to thicken and intensify your sauces like a pro at home.
Written by FoodieManiac
With over 8 years of sauce-making experience, I've tested hundreds of techniques and products to bring you practical, reliable advice. Learn more about me →
Understanding Sauce Reduction: Why It Matters
Reducing a sauce is one of the most powerful ways to concentrate flavors, improve texture, and create that glossy, restaurant-quality finish. Reduction works for everything from classic pan sauces to BBQ glazes, gravies, and even vinaigrettes. The process relies on controlled evaporation - removing water to intensify taste and thicken consistency. Mastering the reduction technique is essential for anyone who wants to elevate their homemade sauces beyond the basics.
The Science of Reduction: What’s Happening in Your Pan?
When you simmer a sauce, you’re not just making it thicker. You’re encouraging water to evaporate, which increases the concentration of dissolved solids: sugars, salts, acids, and aromatic compounds. This balance is crucial; too little reduction and your sauce is thin and watery, too much and you risk bitterness or burning.
For most sauces, aim to reduce by one-third to one-half of the original volume. For example, if you start with 2 cups, reduce until you have 1 to 1.5 cups left. Use a glass measuring cup to check volume periodically.
Essential Tools for Sauce Reduction
- Wide, shallow pan: Increases surface area, speeding evaporation and promoting even reduction.
- High-quality whisk or wooden spoon: For stirring and scraping the bottom, preventing scorching.
- Instant-read thermometer: Especially important for sugar-based glazes or reductions (e.g., teriyaki, BBQ) to avoid burning at high temperatures.
- Measuring cups: To monitor volume accurately as you reduce.
Key Temperatures and Heat Control
The ideal temperature for most sauce reductions is a gentle simmer, typically between 180°F and 205°F (82°C–96°C). A full boil (212°F/100°C) can cause uneven evaporation, splattering, or rapid burning of sugars, especially in sauces with honey, fruit, or high sugar content like Easy Honey BBQ Glaze or Authentic Japanese Teriyaki Sauce Recipe.
To maintain a simmer, adjust your burner so small, slow bubbles appear across the entire surface, but the sauce is not rolling or vigorously bubbling. If you see rapid, large bubbles, lower the heat.
How to Reduce: Step-by-Step Technique
- Start with the right pan. Use a wide, heavy-bottomed skillet or saucepan. Avoid tall, narrow pots - these slow down evaporation.
- Bring to a boil, then lower to a simmer. Once you’ve added all ingredients, increase the heat to bring the sauce to a boil, then immediately reduce to a gentle simmer.
- Stir frequently, especially as the sauce thickens. This prevents sticking and scorching on the bottom, particularly for dairy- or sugar-based sauces.
- Skim any foam or impurities. For broths, gravies, or tomato sauces, skimming off foam will lead to a cleaner-tasting, clearer sauce.
- Monitor volume and texture. Measure periodically; for most reductions, you want to cut the volume by 1/3 to 1/2.
- Finish with cold butter or cream (optional). For glossy restaurant-style pan sauces, swirl in a tablespoon of cold butter after reducing. This technique, called monter au beurre, adds body and sheen.
Timing: How Long Should You Reduce?
Reduction times depend on starting volume, pan width, and sauce composition. Here are general guidelines:
- Pan sauces (e.g., wine, stock, demi-glace): 8–15 minutes to reduce by half over medium-low heat in a 10–12-inch skillet.
- Tomato sauces: 15–40 minutes, depending on desired thickness. For salsa-style sauces like Authentic Mexican Salsa Roja Recipe, 10–20 minutes is typical for a thicker consistency.
- BBQ sauces and glazes: 12–25 minutes; honey or sugar-based sauces require lower heat and closer attention.
- Broth or gravy reductions: 10–20 minutes, skimming as needed.
- Vinaigrettes or mayonnaise-based sauces: Rarely reduced, but can be gently heated to concentrate flavors if desired.
Always keep an eye on the sauce, as the last stage of reduction happens quickly - sauces can go from glossy to scorched in under a minute.
Pro Tip: Use a Timer
Set a timer for the minimum estimated reduction time. Check the sauce at intervals, then continue reducing in 2–3 minute increments as needed, stirring frequently.
Recognizing the Perfect Consistency
How do you know when your sauce is reduced enough? Use these techniques:
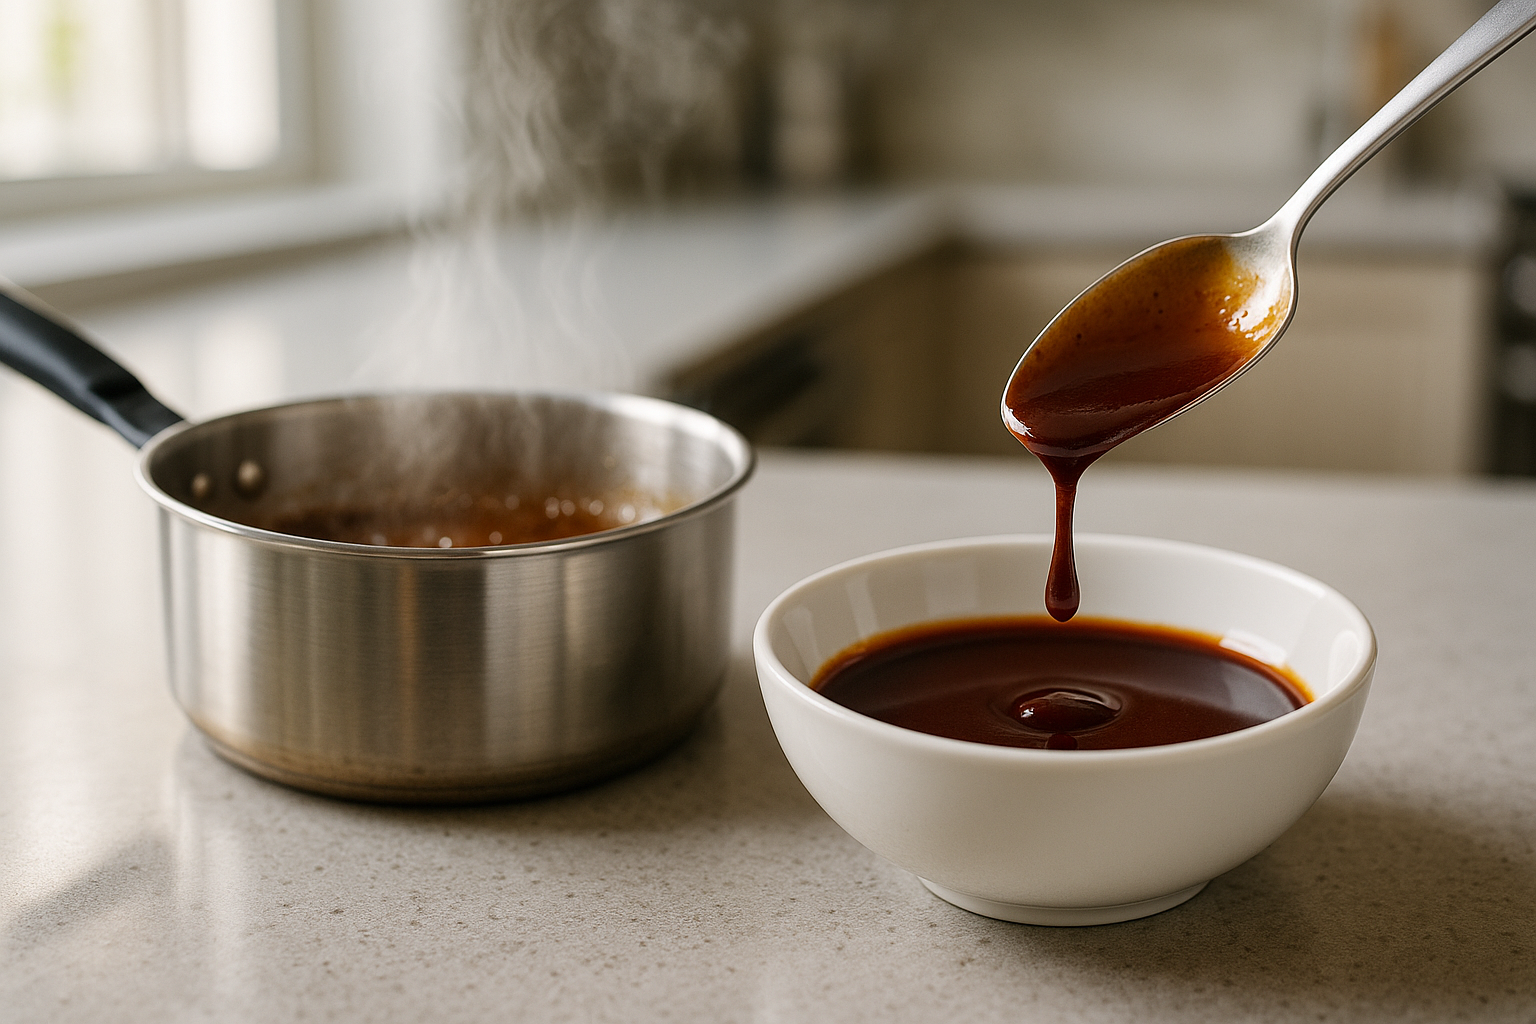
- Wooden Spoon Test: Dip a spoon into the sauce. Run your finger across the back. If the line holds cleanly, the sauce is thick enough to coat food.
- Visual Cues: The bubbles get larger and slower as water content drops. The sauce will look glossy and cling to the pan.
- Volume Measurement: Pour into a measuring cup to check if you’ve reached your target reduction (e.g., 2 cups down to 1 cup).
Balancing Flavors After Reduction
Reduction concentrates not only flavor but also saltiness, acidity, and sweetness. A sauce that tastes balanced before reducing may end up too salty or sharp. Taste after reducing, then adjust with a splash of water, stock, or a squeeze of citrus as needed. For a deeper dive on balancing flavors, see Acid, Fat, Sugar, Salt: How to Balance Flavors in Any Homemade Sauce.
Examples of Flavor Adjustment Post-Reduction
- If too salty: Add a splash of unsalted broth or water, then simmer for 1–2 minutes.
- If too acidic: Stir in a small amount of sugar or honey.
- If too sweet: Add a dash of vinegar or fresh lemon juice.
Classic Sauces and Reduction Techniques
Pan Sauces for Meats
After pan-searing steak or chicken, deglaze with wine or stock, scraping up browned bits. Reduce by half, then finish with butter. Try this technique with a steak and garlic butter combo inspired by our Restaurant-Style Garlic Butter Sauce Recipe.
BBQ Sauces and Glazes
For sticky BBQ sauces like Texas BBQ Sauce or Memphis-Style BBQ Sauce, reduction is crucial for a syrupy, brushable finish. Simmer at low heat (180–190°F) for 15–20 minutes, stirring constantly in the final 5 minutes.
Asian-Style Reductions
Soy-based sauces can scorch, so use a moderate simmer and monitor closely. For a restaurant-style teriyaki, reduce by half until glossy, as in our Authentic Japanese Teriyaki Sauce Recipe. For convenience, see the Thermomix Teriyaki Sauce Recipe for precise, hands-off reduction.
Gravies and Stock-Based Sauces
Classic gravies and demi-glace sauces rely on slow reduction over 20–40 minutes to develop complexity and silkiness. Skim fat and impurities throughout for clarity.
Common Mistakes and How to Avoid Them
- Over-reducing: If a sauce becomes pasty or scorched, add a splash of stock or water and whisk vigorously to recover texture.
- Too much heat: High heat can caramelize sugars prematurely, turning sauces bitter. Keep to a gentle simmer, especially for sweet or dairy-based sauces.
- Neglecting to taste: Always taste before and after reduction. Adjust salt, acid, or sweetness as needed.
- Ignoring pan size: A small pan slows reduction; a wide pan speeds it up. Choose based on desired timing and amount.
When Not to Reduce: Sauces That Don’t Benefit
Some sauces, especially emulsions and fresh dressings, should not be reduced. Mayo-based sauces like Thermomix Sweet Chili Mayo or Copycat In-N-Out Spread Recipe can break if heated. For fresh or creamy dressings, see Thermomix Green Goddess Dressing or 5-Minute Salad Dressings: Quick Sauces to Upgrade Any Bowl for inspiration.
Advanced Tips for Sauce Reduction
- Layer flavors: Add aromatics (rosemary, thyme, garlic) early, then strain after reduction for a refined, smoother sauce.
- Use reduction for marinades: Reduce reserved marinades to a boil for 5 minutes to make safe, flavorful finishing sauces.
- Double reduction: For intense flavor, reduce twice - once for stock and again for the final sauce. Classic in French demi-glace preparation.
- Deglazing: Always deglaze the pan after cooking meat to capture maximum umami for your reduction.
Frequently Asked Questions
Can I reduce sauces in advance?
Yes. Many reduced sauces can be cooled, stored, and gently reheated. For storage tips, see How to Store Homemade Sauces (Complete Guide). Always reheat slowly to avoid breaking or scorching.
How do I thicken a sauce if reduction alone isn’t enough?
If your sauce won’t thicken as desired, use a natural thickener. See How to Thicken Sauces Naturally (7 Methods) for cornstarch, roux, egg yolk, and reduction combinations.
What are signs I’ve reduced too far?
The sauce may look sticky, pasty, or start to separate. It will cling heavily to the spoon and lose gloss. Quickly whisk in small amounts of liquid to loosen.
Recipes to Practice Your Reduction Skills
- Restaurant-Style Garlic Butter Sauce Recipe – Classic pan sauce reduction for steak or seafood
- Easy Honey BBQ Glaze Recipe (Sweet & Sticky) – Master syrupy, brushable BBQ glazes
- Authentic Mexican Salsa Roja Recipe – Learn how reduction thickens and deepens flavor in salsa
- Authentic Japanese Teriyaki Sauce Recipe and Thermomix Teriyaki Sauce Recipe – For glossy, restaurant-style teriyaki at home
Further Reading and Next Steps
- Explore quick, flavor-packed sauces in 5-Minute Salad Dressings: Quick Sauces to Upgrade Any Bowl
- Learn the secrets of global sauce traditions in Global Sauce Traditions: A Tour of the World's Most Essential Condiments
- Master the foundations with The 5 Mother Sauces Every Home Cook Should Know (And Actually Use)
- Dive deep into flavor balancing with Acid, Fat, Sugar, Salt: How to Balance Flavors in Any Homemade Sauce
By understanding reduction, you unlock the key to intense, restaurant-quality sauces at home. Whether you’re perfecting a silky pan sauce, a sticky glaze, or a classic gravy, these techniques will help you achieve maximum flavor and impeccable texture every time.
