How to Pasteurize Homemade Sauces for Longer Shelf Life at Home
Learn step-by-step how to safely pasteurize homemade sauces, dressings, and condiments to extend freshness and prevent spoilage in your kitchen.
Written by FoodieManiac
With over 8 years of sauce-making experience, I've tested hundreds of techniques and products to bring you practical, reliable advice. Learn more about me →
Why Pasteurize Homemade Sauces?
Pasteurizing homemade sauces is a crucial step if you want them to last beyond a few days in the refrigerator. Pasteurization destroys harmful bacteria, yeasts, and molds, making sauces safer to eat and extending their shelf life. This is especially important for sauces with fresh ingredients, dairy, eggs, or low-acid profiles, such as Homemade Creamy Parmesan Peppercorn Dressing or Copycat Freddy's Fry Sauce Recipe. Proper pasteurization can turn a 3-day sauce into one that lasts several weeks unopened in the fridge.
Understanding Sauce Safety: Spoilage Risks and Shelf Life
Homemade sauces are more prone to spoilage than commercial sauces because they lack preservatives and are often made in less sterile environments. Common spoilage agents include:
- Bacteria (e.g., Salmonella, E. coli, Listeria)
- Yeasts and molds that cause off-flavors and visible spoilage
- Enzymes that affect texture and flavor over time
Acidic sauces (pH below 4.6) such as Authentic Mexican Salsa Roja Recipe are less risky, while low-acid, creamy, or egg-based sauces need stricter pasteurization. For more on shelf life specifics, see How Long Do Sauces Last? Shelf Life Guide for Homemade & Store-Bought.
Pasteurization Methods for Home Sauces
You can pasteurize sauces at home using two primary methods: hot-fill pasteurization and water bath pasteurization. The choice depends on the sauce’s ingredients, thickness, and pH.
Hot-Fill Pasteurization
Hot-fill pasteurization is best for pourable sauces with a smooth, uniform consistency - think BBQ sauces, tomato sauces, and some vinaigrettes. Here’s how to do it safely:
- Heat the finished sauce to at least 185°F (85°C) for 1 minute. Use a reliable kitchen thermometer and stir constantly to avoid hot spots.
- Immediately pour the hot sauce into clean, sterilized glass jars or bottles, leaving 1/4-inch headspace.
- Seal jars with sterilized lids. Invert them for 5 minutes to help sterilize the lid interior (optional for extra caution).
- Let cool at room temperature, then refrigerate or store as appropriate.
This method is ideal for shelf-stable acid sauces, such as Homemade Kansas City-Style BBQ Sauce or Thermomix Roasted Tomato Basil Sauce.
Water Bath Pasteurization
Water bath pasteurization provides an added level of safety by heating sealed jars in boiling water, ensuring even heat penetration. This method is suitable for high-acid sauces and some condiments, but not safe for low-acid or dairy/egg-based sauces. For water bath pasteurization:
- Prepare the sauce and heat to at least 180°F (82°C).
- Ladle the hot sauce into sterilized glass jars, leaving 1/4-inch headspace.
- Seal with new, sterilized lids.
- Place jars in a boiling water bath so water covers the lids by at least 1 inch.
- Boil for 10–15 minutes for pint-sized jars (adjust for altitude).
- Remove jars and let cool undisturbed for 12–24 hours. Check seals before storing.
For a step-by-step home canning guide, see How to Can Sauces Safely at Home: Step-by-Step Guide for Beginners.
Low-Acid and Creamy Sauces: Why Pasteurization Alone Isn’t Enough
Sauces containing dairy, eggs, or low-acid vegetables (like fresh herbs or garlic in oil) require extra care. Botulism risk is real in low-acid environments. For these sauces, pasteurization extends fridge life but does not make them shelf-stable at room temperature. Always store them in the refrigerator and use within 1–2 weeks. Examples include Creamy Avocado Cilantro Lime Dressing and Creamy Jalapeño Cilantro Dip (Chuy’s Copycat).
Step-by-Step Pasteurization Instructions
1. Start with Clean Equipment
Thoroughly wash all jars, lids, utensils, and surfaces with hot, soapy water. Rinse well. For extra safety, sterilize jars and lids by boiling for 10 minutes or running them through a dishwasher on the hottest setting. Bacteria introduced at any stage can compromise your pasteurization efforts.
2. Prepare and Cook Your Sauce
Follow your sauce recipe, ensuring all ingredients are fully cooked. For tomato-based sauces or BBQ sauces, simmer for at least 15–30 minutes to blend flavors and reach pasteurization temperatures during cooking. For example, see the cooking method in Smoky Bourbon BBQ Sauce.
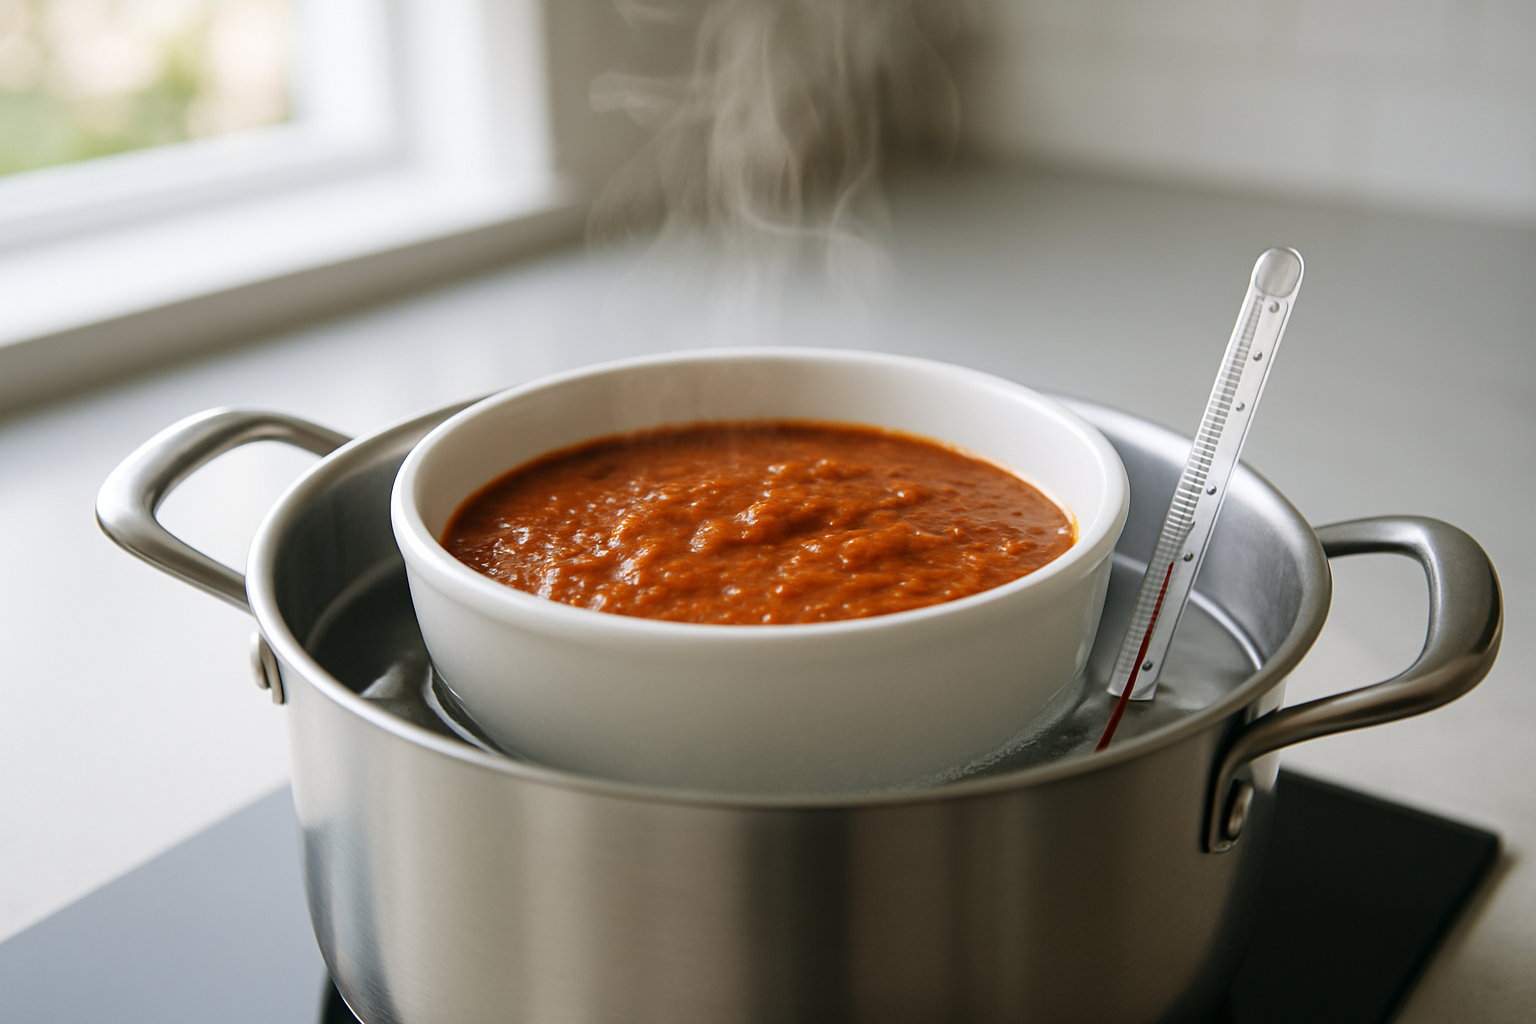
3. Check the Temperature
Use a digital thermometer to verify your sauce has reached at least 185°F (85°C) throughout. Stir well and check multiple spots, especially for thick or chunky sauces. For thin dressings, 165–175°F (74–80°C) may be sufficient if the sauce is acidic (pH below 4.0), but higher temperatures provide better safety margins.
4. Fill and Seal Jars Properly
Work quickly to minimize cooling. Pour the hot sauce into sterilized jars, leaving 1/4-inch headspace to allow for expansion. Wipe rims with a clean, damp cloth before sealing. Tighten lids just to fingertip-tightness to allow air to escape during water bath processing if used.
5. (Optional) Water Bath Process for Added Safety
For high-acid sauces, submerge sealed jars in boiling water for 10–15 minutes. Adjust time if using larger jars or living at high altitude. Remove jars, cool, and test the seal by pressing the center of the lid - if it doesn’t pop back, the seal is good.
6. Label, Store, and Monitor
Label jars with the sauce type and date. Store shelf-stable, acidified, hot-filled sauces in a cool, dark pantry. All other sauces must be kept refrigerated. Always check for signs of spoilage (off smells, bubbling, mold) before use. When in doubt, throw it out.
Best Practices for Pasteurizing Different Sauce Types
Acidic Sauces (pH < 4.6)
Examples: Tomato sauces, vinegar-based BBQ sauces, hot sauces like Authentic Peruvian Aji Verde Sauce Recipe.
- Use hot-fill or water bath pasteurization
- Store unopened in pantry up to 6–12 months; refrigerate after opening
- Test pH with strips or a pH meter for extra safety
Creamy, Dairy, or Egg-Based Sauces
Examples: Ranch, Caesar dressings, aioli (Aioli vs. Garlic Mayo guide), yogurt sauces.
- Pasteurize at 185°F (85°C) for 3–5 minutes, stirring constantly
- Store only in the refrigerator, 1–2 weeks max
- Never store at room temperature - risk of botulism and spoilage
Herb or Nut-Based Sauces
Examples: Authentic Italian Salsa Verde Sauce Recipe, Authentic Romesco Sauce Recipe (Spanish Red Pepper & Almond Sauce), Authentic Egyptian Dukkah Spice Mix & Dipping Oil.
- If mixed with oil, be extra cautious - garlic or herbs in oil can promote Clostridium botulinum
- Pasteurize at 185°F (85°C) for 3–5 minutes
- Refrigerate and use within 1–2 weeks
Tips for Safe and Effective Pasteurization
- Monitor pH: Sauces with pH above 4.6 are not shelf-stable without pressure canning. Use test strips or a digital pH meter.
- Consistent Temperature: Stir constantly and check the temperature at multiple spots, especially in thick sauces.
- Use Appropriate Containers: Only use glass jars or bottles rated for canning. Plastic containers may warp or leach chemicals at high temperatures.
- Never skip cleaning: Even the best pasteurization can’t overcome dirty equipment. Sterilize everything that touches your sauce.
- Don’t overfill: Leave headspace to prevent jars from cracking or lids from popping off during cooling.
When to Avoid Pasteurization: Fresh or No-Cook Sauces
Some sauces are best enjoyed fresh and should not be pasteurized, such as uncooked herb vinaigrettes or dairy dips. For quick, no-cook options, see No-Cook Sauces: 10 Fresh Blends You Can Make in Under 5 Minutes and How to Make 3-Ingredient Sauces: Fast Flavor Boosts for Any Meal. These should be made in small batches and eaten within 3–5 days, always kept chilled.
Frequently Asked Questions About Pasteurizing Sauces
Does pasteurization affect sauce texture or flavor?
High heat can slightly change the flavor or texture of delicate sauces, especially creamy or egg-based ones. For robust sauces like Authentic Hungarian Paprika Sauce (Paprikás Mártás) or Easy Honey BBQ Glaze Recipe (Sweet & Sticky), the effect is minimal and often deepens the flavor. To avoid curdling eggs or dairy, heat gently and stir constantly.
How long do pasteurized sauces last?
Shelf-stable, acidified, hot-filled sauces can last 6–12 months unopened in a cool pantry. Refrigerated, pasteurized creamy sauces last 1–2 weeks. Always check for spoilage before consuming. For more on this, review our Shelf Life Guide.
Can I pasteurize sauces with fresh garlic or herbs in oil?
These are extremely risky for botulism. Pasteurization extends fridge life (up to 7–10 days) but does not make them safe for room temperature storage. Always store refrigerated and use quickly.
Pasteurization vs. Other Preservation Methods
Pasteurization is not the only way to preserve sauces. Freezing is a safe, easy alternative for most sauces - see our Freezing Sauces 101: Best Methods, Containers, and Thawing Tips for details. Canning (using a pressure canner) is required for low-acid sauces but is more complex than pasteurization. Fermentation is another option for hot sauces and chutneys.
Recipes You Can Pasteurize at Home
- Homemade Kansas City-Style BBQ Sauce
- Thermomix Roasted Tomato Basil Sauce
- Authentic Hungarian Paprika Sauce (Paprikás Mártás)
- Easy Honey BBQ Glaze Recipe (Sweet & Sticky)
For creamy sauces, such as Homemade Creamy Parmesan Peppercorn Dressing, pasteurize and always store in the refrigerator.
Conclusion
Pasteurizing your homemade sauces is a practical, science-backed method to extend their shelf life and ensure food safety. Use the right temperature, time, and storage approach based on your sauce’s ingredients. For more sauce-making and troubleshooting tips, don’t miss How to Fix Over-Salted Sauces: Chef-Approved Rescue Techniques and How to Reduce Sauces for Maximum Flavor: Techniques and Timing. With careful technique, you can safely savor your favorite homemade flavors for weeks instead of days.
