How to Can Sauces Safely at Home: Step-by-Step Guide for Beginners
Learn how to can homemade sauces safely with this beginner-friendly guide. Preserve tomato, BBQ, and more for months of fresh, flavorful meals.
Written by FoodieManiac
With over 8 years of sauce-making experience, I've tested hundreds of techniques and products to bring you practical, reliable advice. Learn more about me →
Why Can Sauces at Home?
Canning sauces at home offers control over flavor, ingredients, and food safety. When you can your own Homemade Kansas City-Style BBQ Sauce or Thermomix Creamy Sun-Dried Tomato Pasta Sauce, you decide on the level of spice, sweetness, and salt, and avoid preservatives. Proper canning also extends your sauces’ shelf life, making weeknight dinner prep faster and more flavorful. However, safe canning is crucial to prevent spoilage and foodborne illness. This guide covers every step, from sterilization to sealing, for both high-acid and low-acid sauces.
Step 1: Understand Sauce Types and Safe Canning Methods
Not all sauces are canned the same way. The acidity of a sauce determines whether you use a water bath or pressure canner. High-acid sauces (pH 4.6 or lower) like tomato-based sauces and some fruit chutneys are safe to process in a boiling water bath canner. Low-acid sauces (pH above 4.6) - including creamy, meat, dairy, or most vegetable-based sauces - must be processed in a pressure canner to destroy botulism spores.
- High-acid examples: Tomato pasta sauce, salsa, BBQ sauce with vinegar.
- Low-acid examples: Alfredo, béchamel, sauces with meat or dairy.
Always refer to tested recipes for canning. For more on comparing sauce types, see Homemade vs. Store-Bought Sauces: Is It Worth Making Your Own?
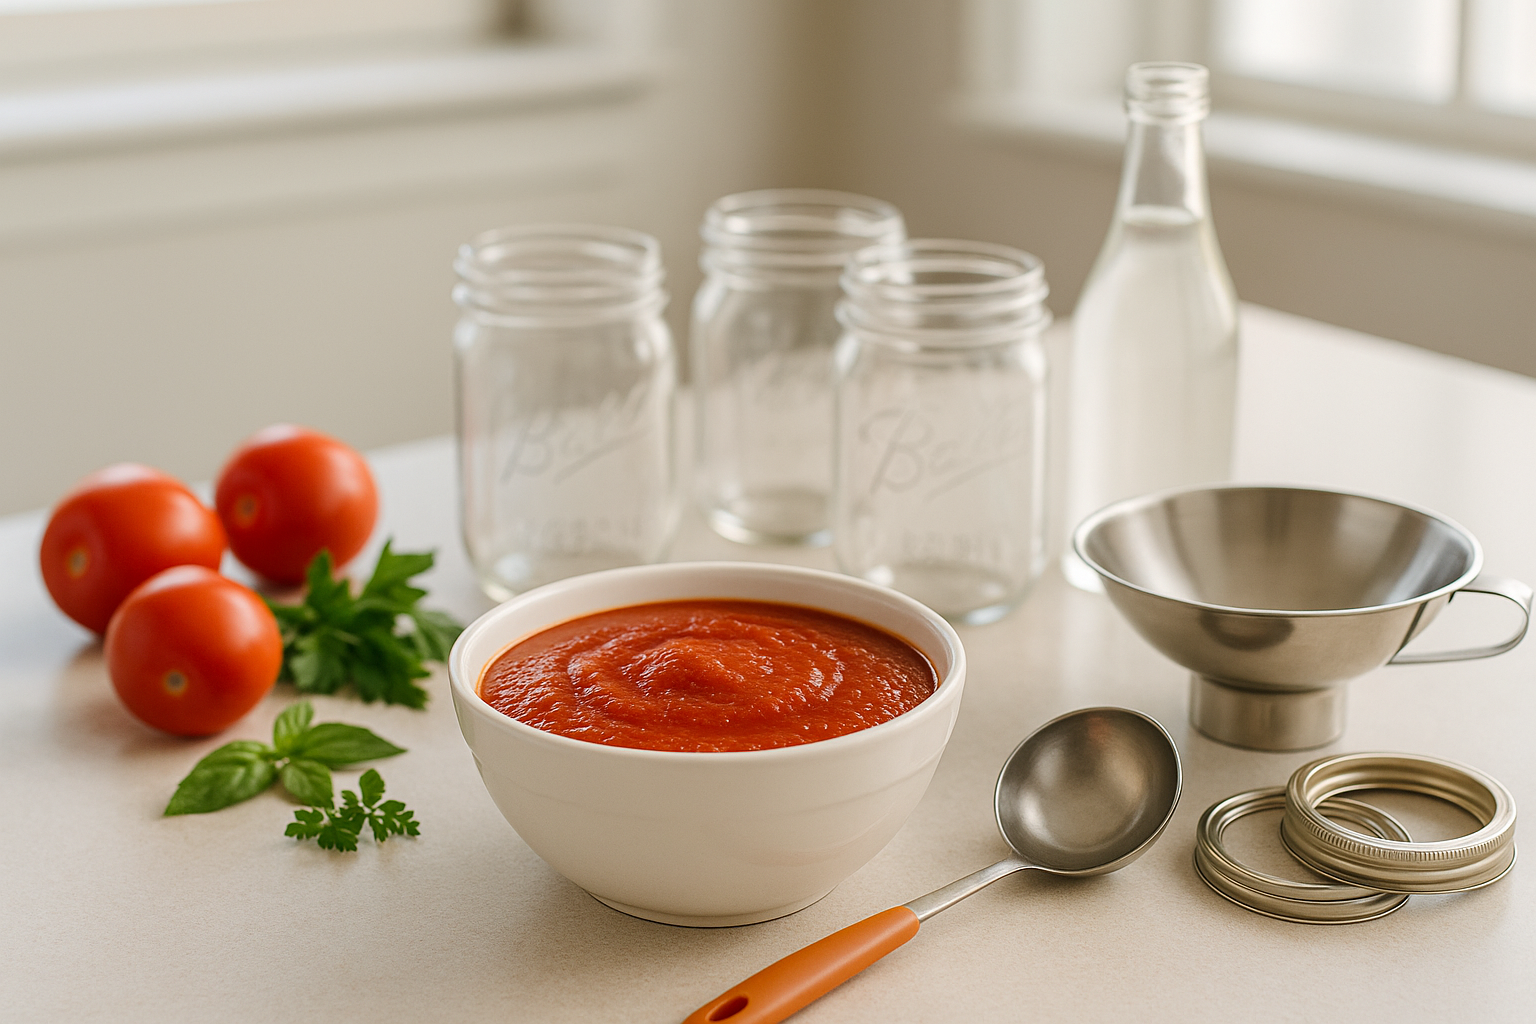
Step 2: Gather Essential Equipment
- Water bath canner or pressure canner (depending on sauce type)
- Mason jars (half-pint, pint, or quart - never reuse lids)
- New two-piece lids (flat lid and screw band)
- Jar lifter and canning funnel
- Bubble remover (plastic spatula or chopstick)
- Clean towels and labels
- Digital food thermometer and timer
Before starting, inspect jars for cracks and wash everything in hot, soapy water.
Step 3: Prepare Your Sauce for Canning
Cook your sauce thoroughly, following a recipe designed for canning. For tomato-based sauces, simmer until thickened: aim for a temperature of at least 185°F (85°C) for 5 minutes. For BBQ sauces (try our Smoky Bourbon BBQ Sauce), ensure vinegar or lemon juice is included to maintain acidity. Avoid adding dairy, flour, or cornstarch; these can cause spoilage. If your recipe contains low-acid vegetables (onions, peppers), add bottled lemon juice or vinegar as instructed by a reliable canning recipe to ensure safety. For smooth sauces, see How to Strain Sauces Like a Pro: Techniques for Silky, Smooth Results.
Acidity Adjustment Example
- For tomatoes: Add 2 tablespoons bottled lemon juice or 1/2 teaspoon citric acid per quart of sauce.
- For pints: Use 1 tablespoon bottled lemon juice or 1/4 teaspoon citric acid.
Mix thoroughly to distribute acidity evenly.
Step 4: Sterilize Jars and Lids
Place clean jars right-side up on a rack in a boiling water canner. Cover with water and boil for 10 minutes (plus 1 minute per 1,000 feet above sea level). Keep jars hot until ready to fill - this prevents cracking when hot sauce is added. Simmer (do not boil) lids in a separate saucepan of water at 180°F (82°C); boiling can damage the sealing compound.
Step 5: Fill and Seal the Jars
Remove a hot jar and place it on a towel. Using a canning funnel, fill with hot sauce, leaving the correct headspace:
- Tomato sauces, fruit sauces, jams: 1/2 inch (1.25 cm) headspace
- BBQ sauce, chutney: 1/4 inch (0.6 cm) headspace
Remove air bubbles by running a bubble remover or spatula around the inside edge. Wipe the rim with a clean, damp cloth. Place the heated lid on the jar and screw the band on fingertip-tight. Do not overtighten; air must escape during processing.
Step 6: Process the Jars
Water Bath Canning (High-Acid Sauces)
- Place filled jars onto the rack in the canner. Water must cover jars by at least 1 inch (2.5 cm).
- Bring water to a rolling boil. Once boiling, start timing:
- Pints: 35 minutes
- Quarts: 40-45 minutes
- Adjust for altitude: Add 5 minutes per 1,000 feet above 1,000 feet elevation.
- When time is up, turn off heat. Let jars sit in water for 5 minutes. Remove jars with a lifter and place on a towel, leaving space between jars.
Do not tilt or turn jars upside down. Let cool undisturbed for 12–24 hours.
Pressure Canning (Low-Acid Sauces)
- Add 2–3 inches (5–7.5 cm) of water to the canner. Load jars per manufacturer’s instruction.
- Vent steam for 10 minutes before pressurizing.
- Process at 10–11 psi (weighted gauge) or 11 psi (dial gauge), adjusting for altitude:
- Pints: 20–25 minutes
- Quarts: 25–30 minutes
- Allow pressure to return to zero naturally. Wait 10 minutes before removing lid.
- Remove jars and cool as above.
For more on shelf life, see How Long Do Sauces Last? Shelf Life Guide for Homemade & Store-Bought.
Step 7: Test Seals and Store
After cooling, check each lid. Press the center: it should not flex or pop. Remove the screw bands and gently lift jars by the edge of the lid to test the vacuum seal. If a jar hasn’t sealed, refrigerate and use within a week. Properly sealed jars can be stored in a cool, dark place for up to 1 year. Label jars with the date and sauce type.
Step 8: Troubleshooting Common Issues
- Jar didn’t seal: Reprocess within 24 hours using a new lid, or refrigerate and use soon.
- Cloudy sauce: May indicate starch or flour - avoid thickening agents before canning. Cloudiness can also result from hard water, but is safe if sealed and not slimy or foul.
- Floating ingredients: Insufficient bubble removal or headspace; gently stir before use.
- Mold or bulging lid: Discard immediately; do not taste.
Actionable Tips for Great Canned Sauces
- Use bottled lemon juice or vinegar, not fresh, for acidity adjustments (reliable pH).
- Don’t add butter, oil, or cream before canning. Add these after opening.
- For spicier sauces, use dried spices instead of fresh; fresh herbs can lower acidity and harbor bacteria.
- If you want a smoother texture, blend sauces before canning, then strain if desired. For expert straining, see How to Strain Sauces Like a Pro.
- For flavor inspiration, browse Thermomix Roasted Tomato Basil Sauce or try a herby Authentic Italian Salsa Verde Sauce Recipe.
- Never alter ratios of acid, vegetables, or liquid in tested canning recipes.
What Sauces Should Not Be Canned?
Do not attempt to can sauces with dairy, eggs, flour, or cornstarch, such as Alfredo or cheese sauces. These ingredients can cause unsafe texture changes and encourage bacterial growth. For creamy sauces, prepare fresh or refrigerate for short-term use. If you love creamy dressings, try making refrigerator versions like Creamy Feta Dill Dip or Creamy Jalapeño Cilantro Dip (Chuy’s Copycat), and store in the fridge for up to 1 week.
If you want to preserve nut- or herb-based sauces, such as Authentic Romesco Sauce Recipe, always follow a tested canning recipe or opt for freezing. For best freezing methods, read Freezing Sauces 101: Best Methods, Containers, and Thawing Tips.
Safety Reminders and Resources
- Always use up-to-date, scientifically tested recipes for canning.
- Never can in an oven, slow cooker, or dishwasher - only use water bath or pressure canners.
- If in doubt about a sauce’s acidity or safety, freeze instead of canning.
- For ideas on what sauces to try canning, browse our Best Sauces for Pasta: 12 Homemade Recipes for Every Noodle or Best Sauces for Chicken: 15 Recipes That Elevate Every Cut guides.
Conclusion: Start Canning Your Favorite Sauces Safely
Canning homemade sauces lets you enjoy summer tomatoes, garden herbs, and bold flavors year-round. Whether you’re making a spicy Authentic Indian Mint Chutney (Hari Chutney) Recipe or a classic tomato sauce, follow proper canning procedures for safe, delicious results. Always check for reliable, tested recipes and never skip acidity adjustments or processing times. With the right equipment and careful technique, your pantry can be stocked with sauces ready for any meal.
For more sauce inspiration, explore our comprehensive guides like Best Sauces for Rice: 13 Flavorful Pairings From Around the World and Best Sauces for Grilled Fish: 12 Pairings for Every Type of Seafood. Happy canning!
